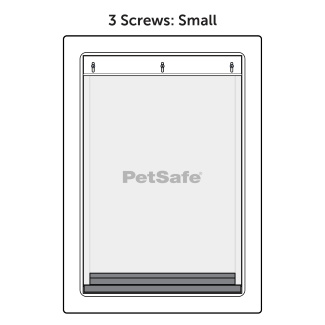
 Small Flap With Three Screws Holes" />
Ensure you purchase the correct replacement flap for the size and type of pet door you have.
Your pet door size can be determined by counting the number of screws at the top of the flap.
 Small Flap With Three Screws Holes" />
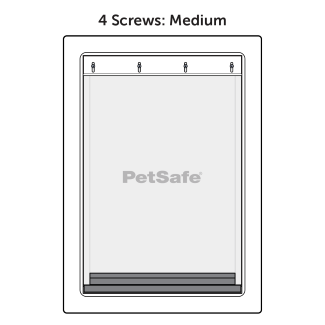 Medium Flap With Four Screw Holes" />
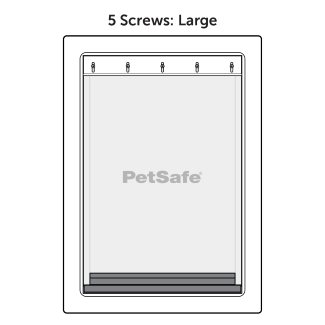
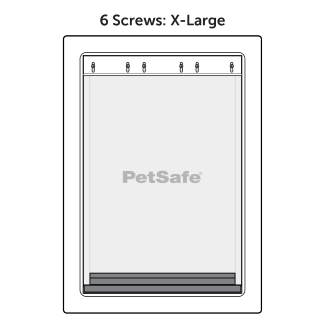
Replacement flaps can be purchased through our website here.
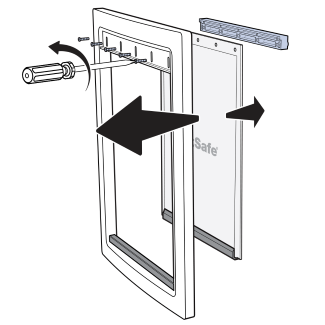
Using a Philips screwdriver, remove the screws across the top of the interior frame of the pet door to release the flap and the mounting bar.
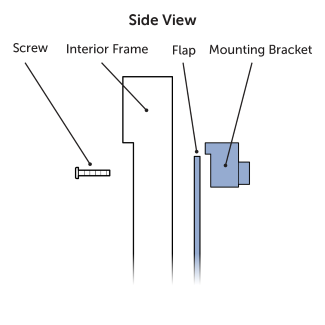
Align the new flap with the screw holes. Place the mounting bar over the flap so that the flap is sandwiched between the frame and the mounting bar. The mounting bar has a notch on the flat side that allows the flap to sit flush with it and the frame.
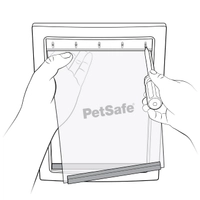
Hold the mounting bar and flap in place. Insert the screws from the interior side of the frame through the flap and into the mounting bar. For easier installation, start with the screws on each end so the flap and bar are held in place. Then insert the middle screws.
Do not tighten the screws completely as the flap will need to be adjusted before everything is tightened.
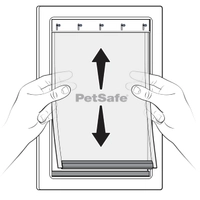
Adjust the flap vertically and horizontally so the magnet bottom of the flap seals with the bottom of the frame and there are no gaps on either side of the flap. Then tighten all the mounting screws to hold it in place. For more information on adjusting the flaps, visit How to Adjust the Flap on My PetSafe® Pet Door.
If you need further assistance, please contact our customer care team.